Winter Milkweed Sowing
Feb 18, 2021

Mike has been drinking a lot of milk! And he's doing spring work. Here are his steps for using gallon or half gallon sized milk jugs for winter sowing of milkweed:
[caption id="attachment_6896" align="alignnone" width="428"] Steps 1-4[/caption]
Step 1: Wash/Rinse a gallon or half-gallon sized milk jug (our images show a gallon size)
Step 2: take a Sharpie and mark a line 4inches from the bottom on three sides of the jug; the fourth side becomes a hinge
Step 3: mark 5 drainage holes on the bottom and 4 drainages holes on the lower-middle area of each side
Step 4: use a drill or a nail to poke out the drainage holes
[caption id="attachment_6898" align="alignnone" width="425"]
 Steps 5-7[/caption]
Step 5: Label the milk jug appropriately (Common and/or Botanical name, number of seeds sown). You can do this before or after you cut the jug.
Step 6: Cut the three sides of the jug, leaving one side in tact for the hinge.
Step 7: Fill the bottom of the jug with about three inches of moist potting soil; then spread about 30 milkweed seeds on top of the soil
 Steps 1-4[/caption]
Step 1: Wash/Rinse a gallon or half-gallon sized milk jug (our images show a gallon size)
Step 2: take a Sharpie and mark a line 4inches from the bottom on three sides of the jug; the fourth side becomes a hinge
Step 3: mark 5 drainage holes on the bottom and 4 drainages holes on the lower-middle area of each side
Step 4: use a drill or a nail to poke out the drainage holes
[caption id="attachment_6898" align="alignnone" width="425"]
 Steps 5-7[/caption]
Step 5: Label the milk jug appropriately (Common and/or Botanical name, number of seeds sown). You can do this before or after you cut the jug.
Step 6: Cut the three sides of the jug, leaving one side in tact for the hinge.
Step 7: Fill the bottom of the jug with about three inches of moist potting soil; then spread about 30 milkweed seeds on top of the soil
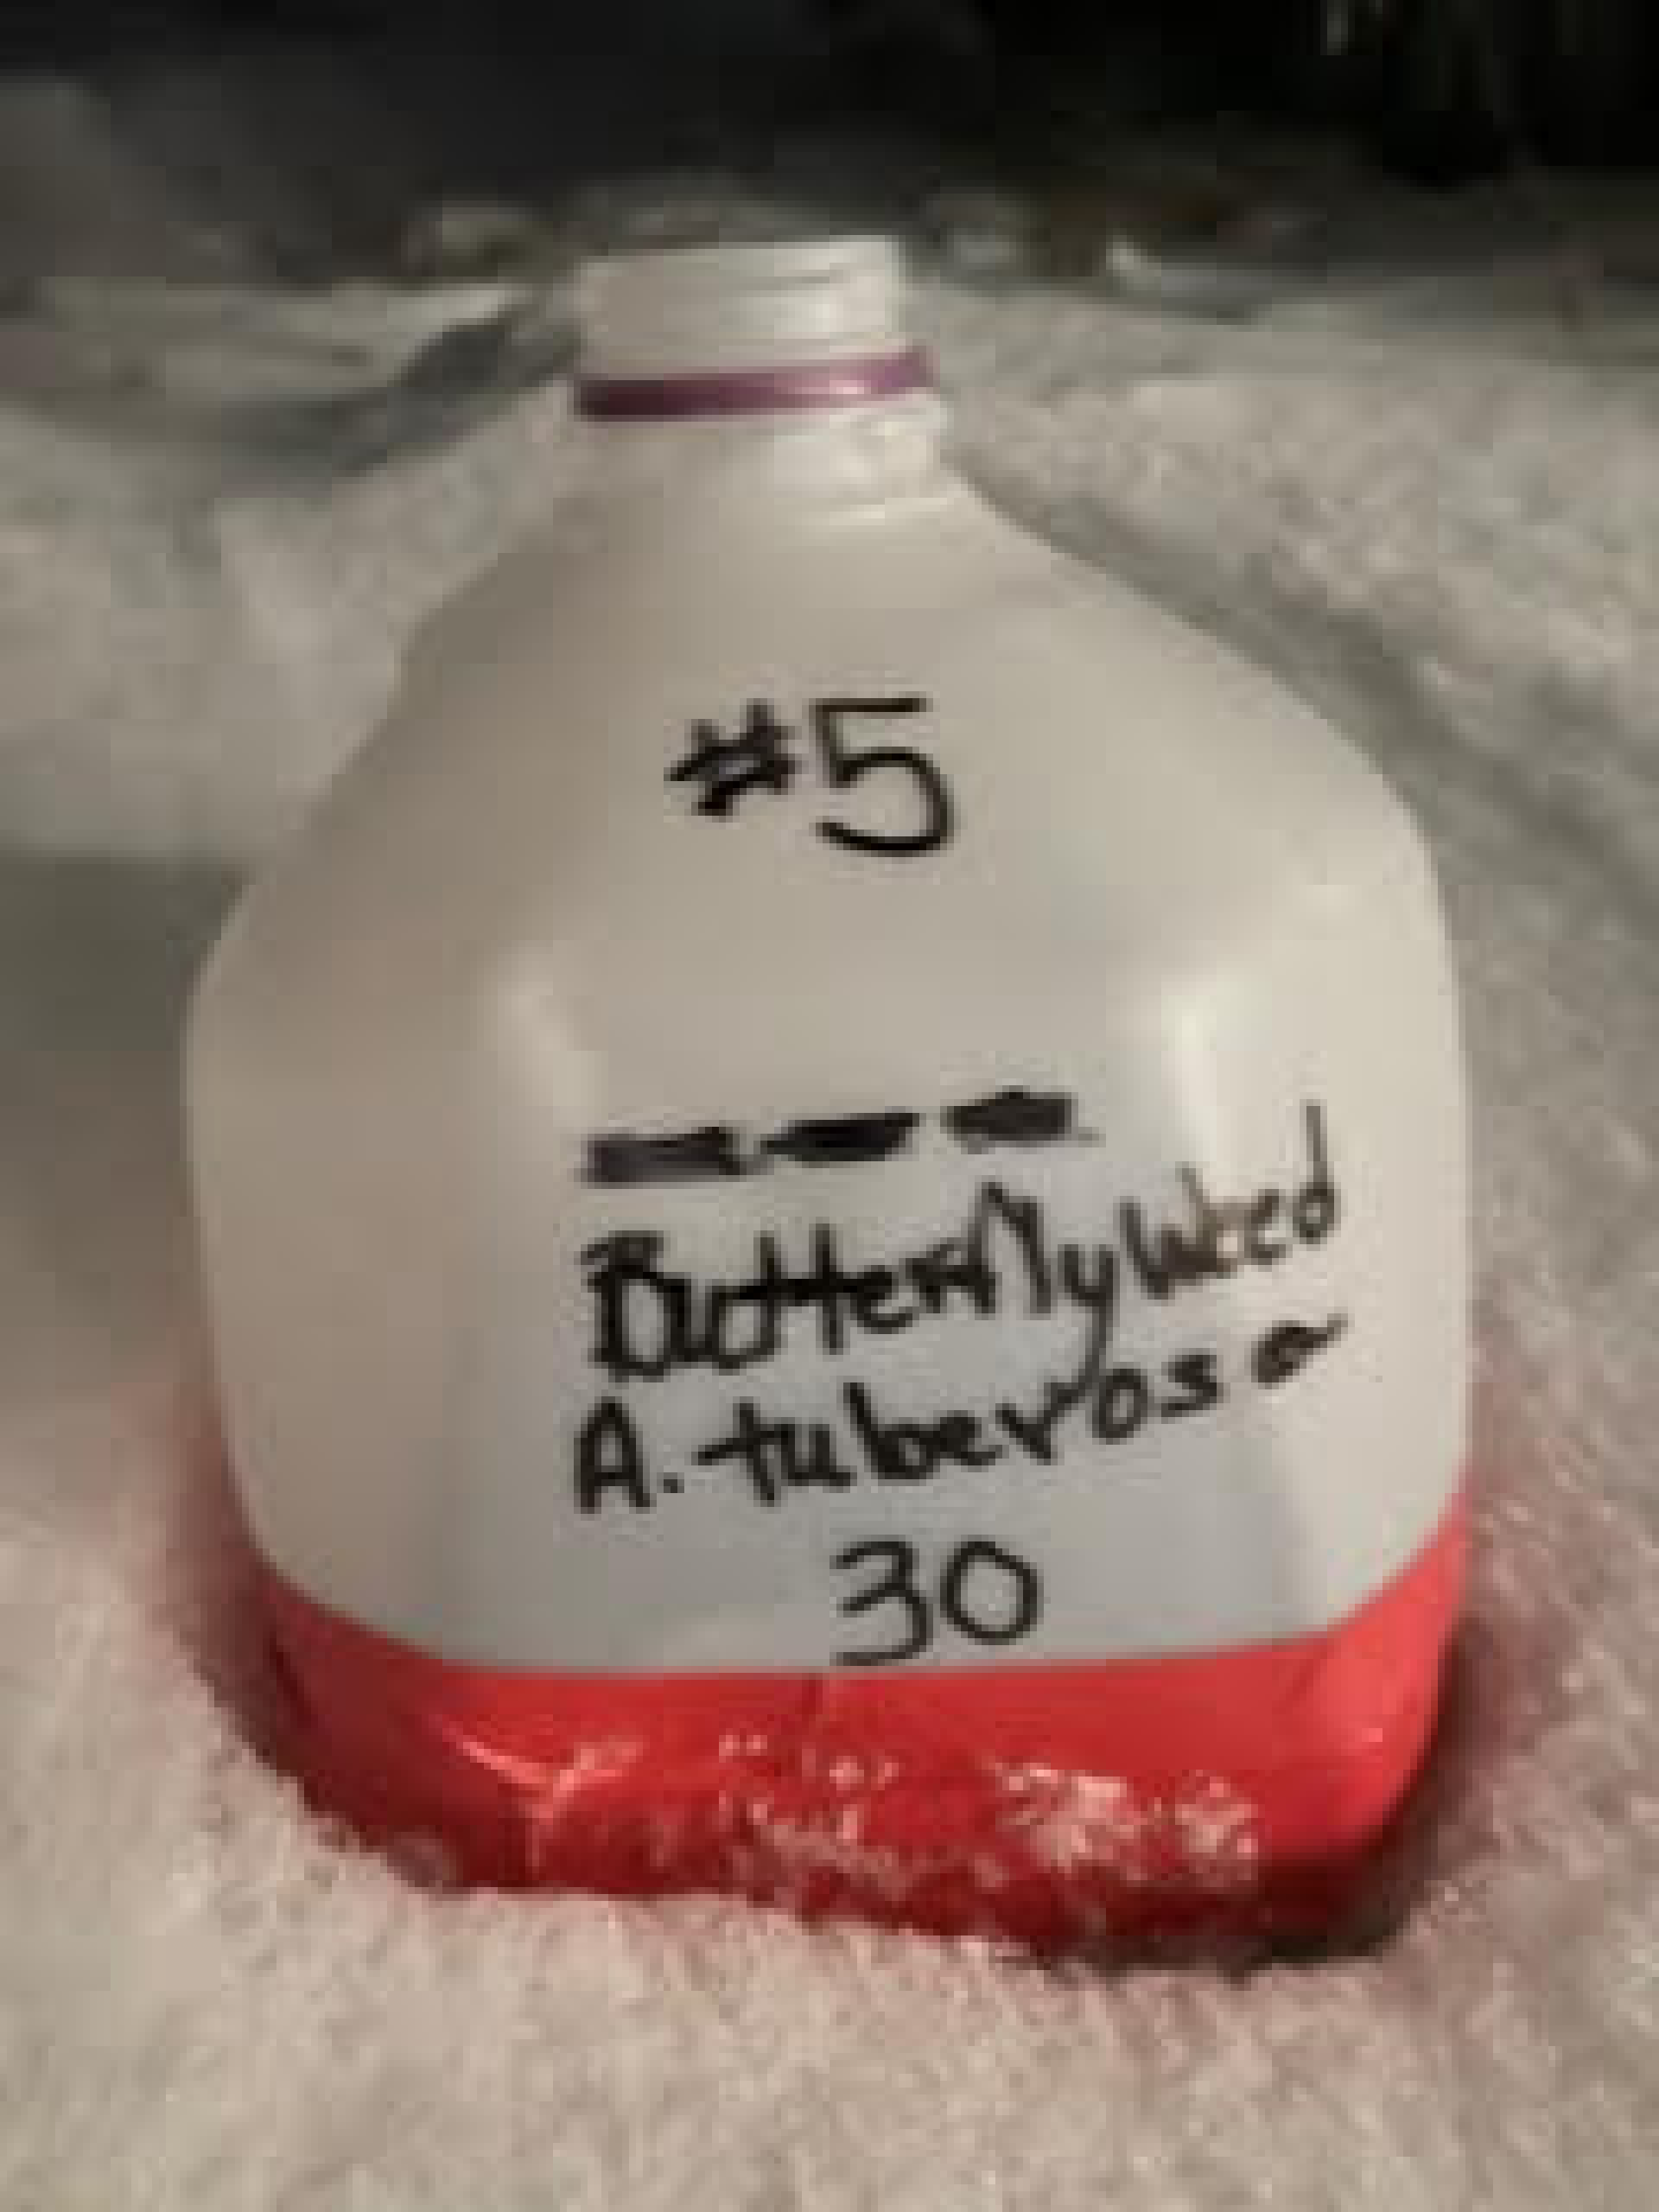
[caption id="attachment_6899" align="alignnone" width="437"] Steps 8-10[/caption]
Step 8: Lightly dust the top of the seeds with some additional potting soil; then mist with water
Step 9: Close and secure the three cut sides of the milk jug with duct tape
Step 10: Place the milk jug outside, on a flat surface surrounded by snow.
Bundle up and head out side occasionally with your mister; mist some water in through the top hole (the pouring spout) of the milk jug.
 Steps 8-10[/caption]
Step 8: Lightly dust the top of the seeds with some additional potting soil; then mist with water
Step 9: Close and secure the three cut sides of the milk jug with duct tape
Step 10: Place the milk jug outside, on a flat surface surrounded by snow.
Bundle up and head out side occasionally with your mister; mist some water in through the top hole (the pouring spout) of the milk jug.